::Baby G:: Project Chair Recover
/
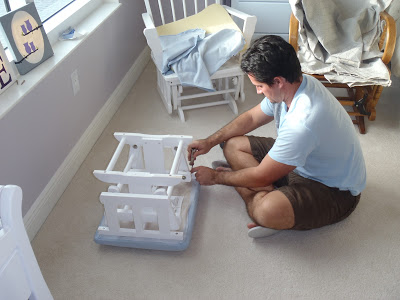
Another project complete! The glider we got from a friend for free was totally great in every way except that it was blue! Since we obviously wouldn't be needing blue, I decided that I would attempt to recover it. Here is the before picture. I forgot to take a straight on before shot but here is a picture that shows most of the chair before.


Good News---It's Thursday! Have a great day!
Mere :-)
Two weeks ago the hubs and I went to Jo-Ann's and looked at their upholstery fabrics. We were looking for something grey and hubs found one we liked pretty quickly. In certain lights, the fabric looks tan but in the room against the white glider, it looks more grey (yay). The fabric was $40 a yard and we needed four yards (yikes!) but luckily all of the fabric was 60% off that day plus we found two yards of the exact fabric in the remnants section at 70% off. That plus some coupons from the Jo-Ann's app and we ended up getting all of the fabric plus the thread for the price of one yard! Score!
I took some detailed photos of the cushions before so I knew what it looked like. I then used a seam ripper to remove the existing pieces and used those as a pattern. It worked really well since I knew the exact size of the fabric and could see how it was sewn before. The arm cushions were the most challenging part and took me the longest but overall it came out really well. Here are some pictures of the process.
Hubs taking apart the footstool
He used a staple gun for this part, I am not comfortable using that tool so he handled this part of the project. I definitely don't trust myself :-)
Putting it all back together.
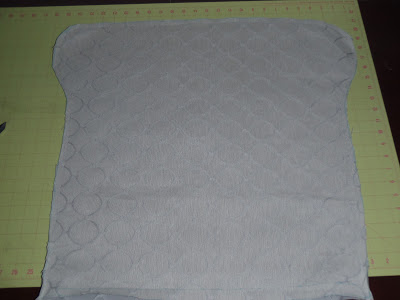
This was the bottom cushion after I sewed the right sides together. I did this same process for the back as well.
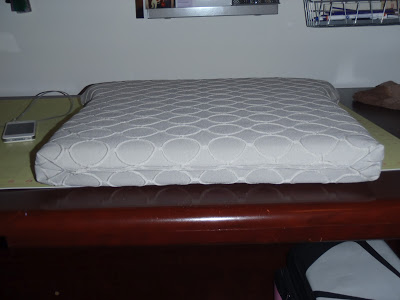
All stuffed, I hand sewed the remaining edge that I left open in order to allow room for the cushion to go in.
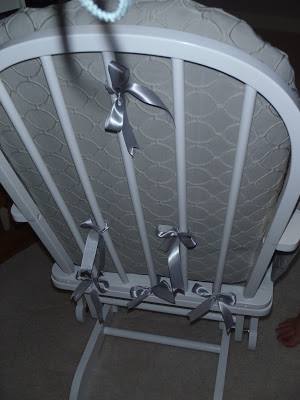
The chair originally had velcro strips that attached the cushions to the chair. I didn't want to go this route so I picked up some satin ribbon and sewed it to the seams. I did this to the back and bottom cushions.
I didn't take any pictures during the arm process since I was frustrated most of the time. These pieces were originally attached to the chair using snaps. Since I don't have the tool for snaps, we unscrewed all of the snap bottoms that were affixed to the frame and used a decorative nail that looks similar to a snap. Hubs did this part too.
Hammering the snaps in
Fitz helping out as usual.
And finally...the finished project!
I surprised myself with this one! I love it and it matches the room so much better!!! I can't wait to move onto the other fabric projects in the room. I have a post going up soon for the curtains also!
Anyone else out these getting a glider?? Any plans to spruce up an old one?? This project cost about $50 in total and was really worth it. It took probably a total of 10 hours max (I had some slip up and redo's because I'm not quite a pro on the sewing machine yet). Totally doable for a newbie like me!
Good News---It's Thursday! Have a great day!
Mere :-)